

Many amateur gardeners dutifully wait for the “official” gardening season, while others reach for the secateurs in late winter. Who has the right approach? The time at which you cut back your perennials has a greater effect on the density, flowering performance and health of your borders than you might expect. A few weeks too early or too late can decide whether tired clumps become a colourful carpet – or a patchy, uneven display.
Why late winter is a pivotal time
Towards the end of February, and sometimes in early March, something shifts in the garden: daylight hours increase, the sun climbs higher and the soil gradually starts to thaw. Above ground, much may still look brown and lifeless, but the internal machinery of perennial plants is already starting up.
“Those who act now protect young shoots, direct the plants’ energy and give their garden a strong head start on spring.”
Old, woody or dried-out stems can sit like a lid over the fresh growth. If left in place for too long, they block light, retain moisture and create a microclimate in which fungi and pests thrive. At the same time, the structure of the border is especially easy to assess at this stage: you can see where gaps have opened up, where plants have become too dominant and where a colour contrast is missing.
By intervening purposefully at this point, you are effectively working while nature still has the handbrake on. The plants are awake, but have not yet entered rapid growth. Cutting does not damage large, soft leaves, and the perennials respond with compact, fresh new growth.
The 10-centimetre cut: firm but effective
The principle sounds drastic: many perennials benefit from being cut back to around 5 to 10 centimetres above ground level. This apparently brutal step understandably makes many amateur gardeners uneasy. Yet this willingness to be bold often pays off in summer.
Cutting back low offers three distinct benefits:
- Denser growth: The plant produces numerous new shoots from its base rather than developing long, sparse stems.
- Fewer diseases: Fungal spores, overwintering aphids and dead material go into the garden waste instead of affecting the new season.
- More flowers: The perennial directs its reserves into young, healthy tissue and strong flowering stems.
“A decisive cut channels the perennial’s stored energy directly into fresh, vigorous shoots – rather than tired old wood.”
Timing remains crucial: cutting too early, when severe frost is still likely, can damage the base of the plant. Cut too late, once fresh shoots are already 10 or 15 centimetres tall, and you can easily crush or snap the new growth. A useful guide is the stage when “the light has become noticeably stronger, the ground is no longer permanently frozen and the first green tips are visible”.
Which perennials really need cutting back now
Robust plants for early pruning
Not every perennial responds equally well to an early, hard cut. Some species positively thrive on it. Typical robust candidates include:
- Aster species (Michaelmas daisies and heath asters)
- Hardy geraniums (not to be confused with bedding geraniums)
- Nepeta (catmint)
- Autumn sedum (ice plant and tall stonecrop)
- Rudbeckia (coneflower)
- Many clump-forming grasses, such as fountain grass or switchgrass
These perennials produce their flowers on new growth. Their old material now serves only as protection and as a visual winter feature. As soon as late winter turns milder, you can confidently cut these clumps back.
Perennials best left alone for now
More sensitive plants need to keep their winter cover for longer. Their old stems genuinely act as a shield against late frosts. Examples include:
- Agapanthus (African lily, especially in colder regions)
- Gaura (beeblossom)
- Penstemon (beardtongue)
- Long-lived, woody sages such as Salvia microphylla
For these plants, it is worth waiting until April, depending on your region and altitude. Bring out the secateurs only once nights are consistently above freezing and there is no longer a threat of a severe cold snap. If the foliage remains healthy and reasonably decorative, there is no reason to rush.
| Perennial type | Recommended cutting time | Special note |
|---|---|---|
| Autumn perennials (Aster, Rudbeckia) | Late February to mid-March | Cut hard to 5–10 cm |
| Clump-forming grasses | Before new growth begins | Gather into bunches before cutting |
| Frost-sensitive perennials | From April, once frost-free | Use old stems as protection |
| Evergreen perennials | As needed | Remove only withered material |
How to cut back perennials step by step
A careful approach makes the process less daunting for both your perennials and yourself. Having a clear routine helps.
The right tool sets the pace
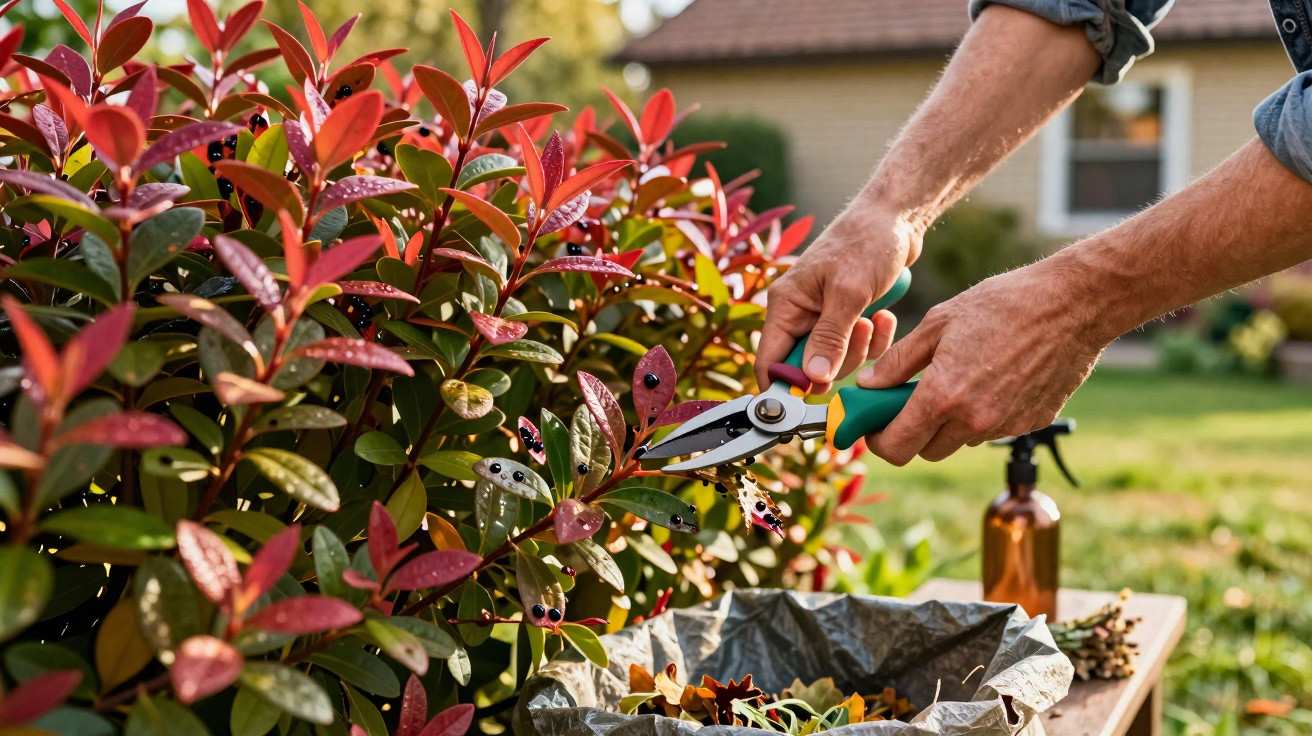
A sharp, clean bypass secateur is essential. Its blades should make a thin, clean cut rather than crushing stems. For thicker, woody growth, a small pair of loppers is worthwhile. Larger clumps of grasses or catmint can be cut conveniently with hand shears.
Before starting, many professionals quickly wipe the blades with alcohol. This reduces the chance of transferring fungi or viruses from one perennial to another. Sharpening them once each season is worthwhile, so cuts remain clean rather than ragged.
The cut itself: close, but not too low
- Gently move mulch aside and inspect the base of the perennial.
- If small, pale-green tips are visible, cut just above them.
- If nothing is visible yet, use roughly 10 centimetres above the ground as a guide.
- Never cut into the plant’s crown, meaning do not cut completely flush with the soil.
- Create a gentle “mound” as you cut: leave the middle slightly higher and the edges slightly lower.
“This small mound effect later creates natural, rounded growth rather than a flat ‘ruler-straight haircut’.”
Once you have finished cutting, take another look: carefully pull out any loose stem fragments caught among the new shoots by hand. This allows air to reach the base and helps prevent rot.
Turning prunings into a nutrient boost
The many bags of garden waste at allotments are evidence of missed opportunities. The brown stems that take so much effort to dispose of are actually a free resource: structural material and nourishment from your own garden.
If you have enough space, chop the material roughly and add it to the compost heap. Using it as a mulch layer on the border is even more direct.
- Roughly chop healthy, dry stems or cut them into small pieces with shears.
- Spread them a few centimetres deep around the perennials, without covering emerging shoots.
- Dispose of parts showing fungal spots or severe aphid infestation separately.
The mulch layer holds moisture in the soil, suppresses weeds and gradually breaks down into humus. Light, sandy soils in particular gain noticeably better structure when this method is used consistently over several years.
When cutting back can go wrong – and how to respond
What if a late cold snap hits your freshly cut-back perennials? In most cases, any damage remains limited. Robust species simply produce new growth again a little later. Even so, the risks can be reduced.
If night frosts in double-digit minus temperatures are forecast after cutting, protect more sensitive clumps with a thin layer of leaves or horticultural fleece. A loose covering of spruce branches also softens temperature extremes. If you realise that you have cut back a frost-sensitive perennial too soon, protect it specifically by placing a bucket or plant pot over it at night.
Practical examples for different garden settings
A typical situation in a terraced-house garden is Rudbeckia and grasses near the patio, with asters thriving at the back by the fence. Cutting all three groups back thoroughly during a mild February weekend brings in light and air. By April, dense cushions have formed, weeds find it harder to establish, and the borders look newly designed.
A container garden on a balcony is different: many plants are more sheltered, but they react more strongly to frost because their rootballs freeze through more quickly. A staged approach is worthwhile here. First cut back robust perennials such as sedum, then observe them for several weeks and gently trim the more sensitive plants later.
Terms that are often misunderstood
The term “perennial” confuses many beginners. It refers to plants that live for several years, with their above-ground parts usually dying back each year while the rootstock survives in the soil. This distinguishes them from shrubs, which become permanently woody, and annual summer flowers, which last for only one season.
“Cutting back” and “deadheading” may sound similar, but they do not mean the same thing. Deadheading removes spent flowers to encourage further blooms. Late-winter perennial pruning, by contrast, is a foundational cut that shapes the plant’s entire growth for the coming year.
Greater impact with a few extra steps
If you already have the shears in your hand, use the opportunity to plan new borders. Looking at the bare framework makes it easy to spot where a variation in height is missing: perhaps a taller aster at the back and lower catmint at the front. This is also an ideal time to consider colour combinations before summer growth obscures everything again.
One more small detail can have a major effect: after cutting back, spread a thin layer of mature compost around the perennials and lightly work it into the soil. Combined with mulch made from the prunings, this creates a kind of “double strategy”: immediately available nutrients are paired with long-term soil improvement. Many perennials respond in the same year with stronger flower stems and richer green foliage.



Comments
No comments yet. Be the first to comment!
Leave a Comment