
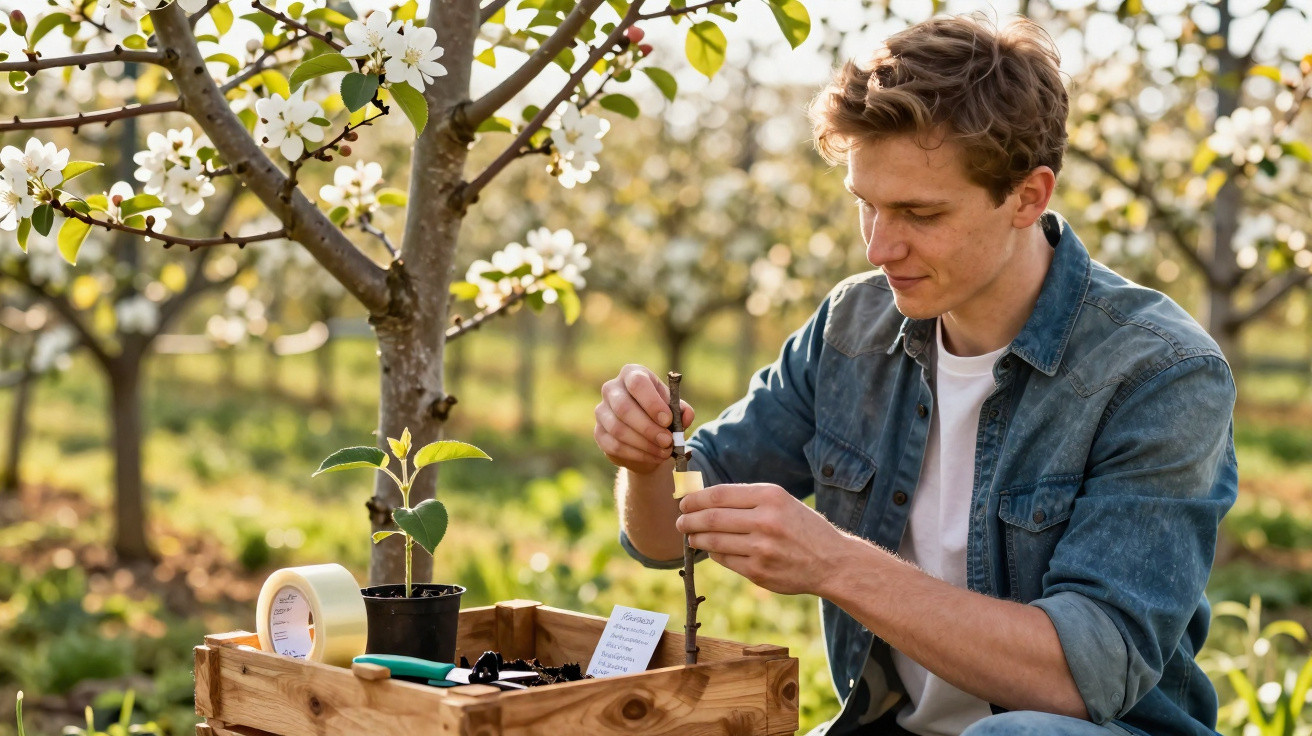
The old apple tree in the neighbouring garden stands like a forgotten relative: gnarled branches, a few weary fruits and far more nostalgia than harvest. On a cool spring morning, a neighbour leans over it with red secateurs, holding a slender, fresh shoot from another tree in her left hand. “I’ll just give it a go,” she says, grinning as though she has unlocked some secret level in a gardening game. No professional, no course - only a YouTube video, a few tips from her grandad and plenty of curiosity. Two months later, small, glossy apples from a different variety are suddenly hanging from that very old tree. It looks almost magical. Yet it is simply a craft: a few clean cuts, some tape and a little patience. And one question quietly takes root in your mind.
Why Grafting Fruit Trees Suddenly Fascinates Everyone
Anyone strolling through an allotment site on a sunny weekend soon notices that grafting has moved from niche interest to quiet trend. Hobby gardeners stand at trees with utility knives, hold scions up to the light and talk about varieties that cannot be found in supermarkets at all. In moments like these, there is a clear desire not merely to grow something, but to create something of your own. A tree that can do more than just produce “apples” - one that carries a history. At the same time, it is a small act of defiance against uniform fruit from the chilled supermarket aisle.
One scene from an allotment near Cologne is particularly memorable. A young father explains to his daughter why their tree will eventually bear both pears and apples. He shows her a thin scion from an old variety he received from the grandparents’ village. The little girl runs her hand over the bark as if touching a secret. Two months later, at the summer fête, everyone gathers around the tree as though someone has unveiled a work of art. The first shoots from the grafted scion are light green and full of vigour. There is not a professional gardener in sight - just a family who decided to try. Their hands may have been trembling, but they had a clear aim in mind.
What appears to be complicated science from the outside can actually be reduced to a few basic principles. Ultimately, grafting means accurately matched cuts, clean tools, the right season and compatible varieties. The biology is not mysterious: the cambium - the thin, living layer immediately beneath the bark - needs to meet at as many points as possible on both the rootstock and the scion. Where this tissue joins, the tree grows together like a neatly stitched wound. Let’s be honest: nobody starts grafting without mistakes and immediately creates a “Fruit Tree of the Year”. But once you understand why wood can join together, the first cut becomes far less intimidating.
How to Make Your First Grafting Project Work Without a Gardening Qualification
The simplest way to begin is with a small, clearly defined project: grafting a different apple variety onto an apple tree you already have. Avoid experiments with exotic species; use apple on apple, pear on pear and plum on plum. Choose a one-year-old scion - a straight, pencil-thick shoot - cut it in winter, then store it somewhere cool and slightly damp, such as a cellar. The crucial moment comes in late spring, when sap is rising through the rootstock. Make a clean diagonal cut on the scion and a matching cut on the rootstock, align the cambium layers, wrap them tightly with grafting tape or electrical tape, and seal the cut surfaces with tree wax. For a first attempt, that really is all there is to it.
Most beginners do not fail because of the method itself, but because of two things: rushing and fear. They hesitate, hold the knife incorrectly and end up with a ragged cut. Or they barely dare to cut deeply enough. The key is one calm, continuous cut, rather than tentative picking away at the wood. Another common problem is scions that are too thick, a poor angle of fit, or cambium that meets only in places - if at all. Then comes impatience: after two weeks, people start cutting, checking and touching nervously. In reality, a graft often needs four to six weeks before it visibly takes. It is a little like a scar: you cannot make it heal faster; you can only protect it.
“Grafting isn’t witchcraft; it is more like a calm handshake between two trees,” a fruit grower in his late sixties once told me, having preserved old varieties for decades.
He swears by a small ritual before every graft: hone the knife, wash his hands and take a deep breath. It is not grand spirituality, but everyday professionalism. Anyone looking to get started benefits most from a handful of straightforward rules:
- Use a well-sharpened, disinfected knife - a blunt blade creates ragged cuts.
- Select scions and rootstock of a similar thickness so the cambium meets cleanly.
- Protect the graft union from drying out, wind and direct sunshine during the first few weeks.
- Remove competing shoots in good time so the scion receives the tree’s energy.
- Record the varieties, date and method - your garden diary will become a quiet teacher.
What Grafting Has to Do with Confidence and the Future
Seeing a first grafted shoot begin to grow is a quiet, unexpectedly personal experience. A branch that was merely a cut-off twig a few weeks earlier suddenly has plump buds on an unfamiliar trunk. You stand before it feeling both proud and amazed. Many people describe it as a small reconciliation with slowness. In a world where everything is expected immediately, grafting is almost defiantly old-fashioned: do the work today, harvest in a few years. Yet every centimetre of new growth feels like a direct response to your own decision to pick up a knife.
| Key point | Detail | Benefit for the reader |
|---|---|---|
| Choose a straightforward starter project | Apple on apple, pear on pear, one-year-old scion, existing rootstock | Lower failure rate and a quicker sense of achievement for beginners |
| Cambium contact is crucial | Clean, long diagonal cuts, similar diameters, firm binding and sealing | Better success rates and less frustration from “invisible” mistakes |
| Calm aftercare rather than overactivity | Leave it undisturbed for four to six weeks, remove competing shoots and protect it from drying out | More stable growth, lasting grafts and healthier trees |
FAQ:
- When is the best time to graft fruit trees? The traditional period is spring bud break, when sap is rising and the bark lifts easily. Winter grafting with stored scions is possible, but it requires more experience and a good feel for temperature.
- Which fruit varieties graft well? In everyday practice, combinations within the same species work most reliably: apple on apple, pear on pear and plum on plum. Stone fruit is more sensitive, while pome fruit is more forgiving of beginner mistakes.
- Do I need specialist professional tools? At the start, a sharp knife, clean secateurs, elastic grafting tape or electrical tape, plus tree resin or wound sealant are entirely sufficient. Special grafting knives make cutting easier, but they are not essential.
- How can I tell whether my graft has worked? After a few weeks, the scion buds begin to swell and grow, while the cut surfaces stay dry and free from rot. If everything remains brown and dry, or the tape loosens, the attempt has usually failed.
- Can I graft old, neglected trees too? Yes - old trees in particular can be given new life through a wider range of varieties. The important thing is to find sufficiently vigorous shoots and stable branches, avoid dead wood, and convert the crown in stages rather than changing everything at once.


Comments
No comments yet. Be the first to comment!
Leave a Comment