
The shoots look unruly and spring is on its way, so it is tempting to quickly “tidy up” the rose bed. Yet this is exactly when mistakes happen that can leave entire bushes without a single flower later on. A slight misplacement of the secateurs, poor timing or a few millimetres too much – and the dream of roses can be over for the time being.
Why pruning roses in March is so delicate
Pruning rouses the shrub from its winter dormancy. The plant directs more sap into its shoots, and the buds are meant to produce vigorous new stems and flowers. If this happens too early and a severe frost returns, the rose bush is hit at its most vulnerable point.
If temperatures fall again to around minus three degrees, water inside the cells freezes. The tissue bursts, the wood dies back and fungi can take hold easily. Grey mould fungus, Botrytis cinerea, among others, treats this kind of frost and pruning damage like an open door.
In extreme cases, pruning too early can cost almost an entire season’s flowering.
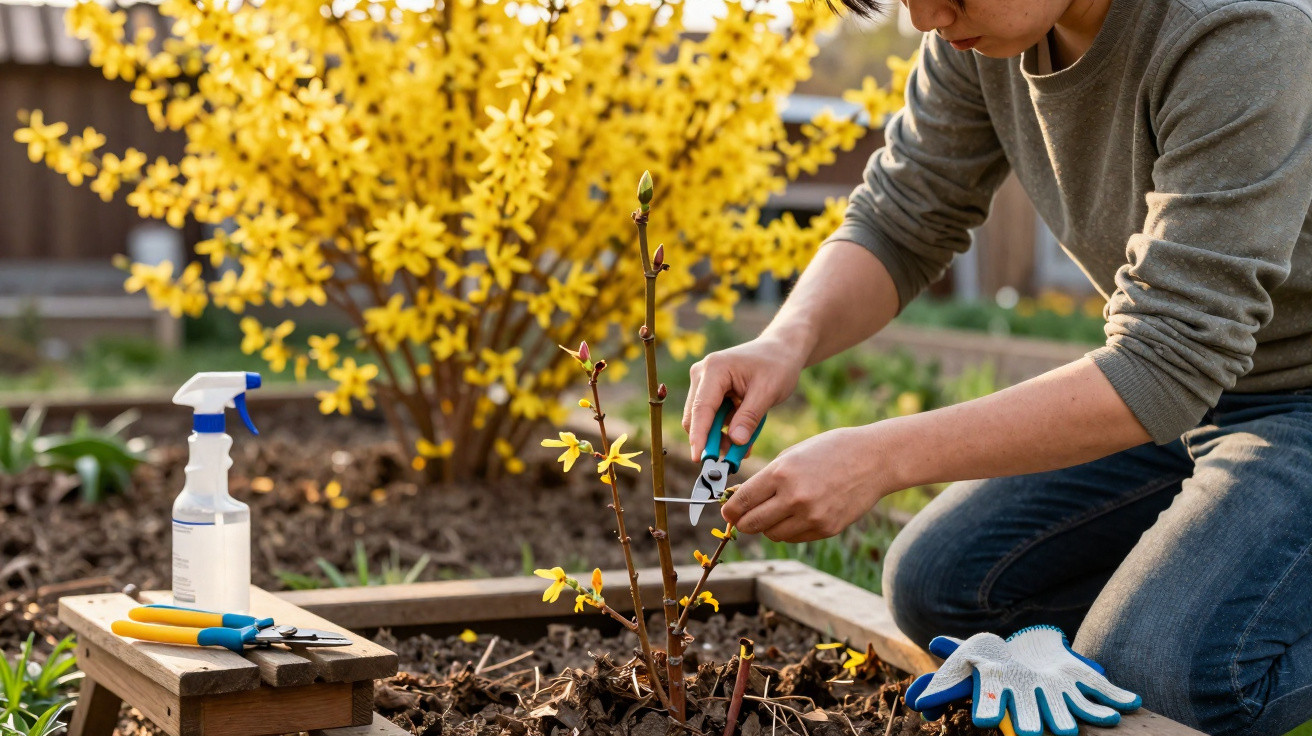
For this reason, experienced rose growers pay less attention to the calendar than to signs in the garden. One particularly dependable indicator is a yellow-flowering shrub that nearly everyone has seen before: forsythia.
The garden’s hidden clock: what the forsythia shrub tells you
Once the forsythia shrub’s bright yellow bells open, severe frosts are usually over. This often happens in March, although it may be slightly earlier or later depending on the region. Reaching for the secateurs then is considerably safer than rigidly following a particular date.
In some years, the weather behaves unpredictably: warm spells in February followed by a cold snap in March have already destroyed around 40 percent of the blooms on early-pruned roses in England. The shrub appeared healthy but produced almost no flowers.
- Prune roses only once forsythias are clearly in flower.
- Avoid pruning when overnight frosts are forecast.
- It is better to wait a few days than to start too soon.
The most common cardinal error: the “stub” above the bud eye
This mistake even has a name in rose gardens: the “chicot”, meaning a stub of old wood. It occurs when too much stem is left above the final bud. Instead of one to eight millimetres, there may be five, ten or even more centimetres left behind.
This remaining section receives an increasingly poor supply, dries out, turns dark and gradually dies back. In the worst case, the rot travels downwards and eventually reaches the healthy bud that should have produced new growth.
The result: apparently vigorous, green shoots – but not a single flower bud throughout the summer.
On close inspection, these stubs can be identified by:
- dark brown, dry ends;
- cracks or shrivelled textures in the wood;
- knobbly transitions to the section that is still green.
Cut these remnants back decisively to just above a living bud with green tissue. If the damage extends deep into the stem, you may need to cut much further back into the wood than you would like – but this will save the plant in the long term.
The second major mistake: flat cuts as if made with a ruler
A smooth, horizontal cut is at least as deceptive. It may look neat, but it causes problems for roses. Rain collects on the surface, runs directly over the bud below and softens the area. Cold weather or fungal spores then have an ideal point of attack.
Roses respond sensitively to such traps of moisture and frost. One rotting cut can render a shoot unusable. Making many cuts like this effectively creates a fungal motorway for the rose bush.
What a good cut on roses looks like
- Make the cut at a slight angle of roughly 45 degrees.
- The slope must run away from the bud, never towards it.
- Leave around five to seven millimetres between the cut and the bud.
This allows rainwater to run off the cut without reaching the young bud. At the same time, enough wood remains to prevent the bud from drying out or being damaged during pruning.
The three-eye rule: simple guidance for every amateur gardener
Professionals use a straightforward rule of thumb to prune roses safely: the so-called three-eye rule. Here, “eyes” means the buds along a shoot – the small swellings from which new stems later emerge.
Count upwards from the base of the plant – the third eye determines the cutting point.
Proceed as follows, step by step:
- Cut out all dead, black or fungus-infected wood completely.
- Remove weak, thin or inward-growing branches.
- Retain three to five strong, well-positioned main shoots.
- On each main shoot, count the buds from the bottom and cut just above the third one.
- Make sure that this third bud points outwards, away from the centre of the shrub.
This opens the shrub like a bowl. Air and light can reach its centre, while leaves dry more quickly after rain. Fungal diseases such as rust, black spot and powdery mildew then find it much harder to establish themselves.
Tools, hygiene and timing: what makes the difference
The tools matter just as much as the pruning technique. Sharp, well-maintained garden equipment reduces injury to the plant and creates clean wound edges that can heal properly.
- Use bypass secateurs, with two cutting blades, rather than anvil secateurs.
- Disinfect the blades before pruning with alcohol or boiling water.
- Prune on a dry day where possible, so wounds dry quickly.
Anyone who has previously had fungal problems in the rose garden should take disinfection very seriously. Spores readily cling to metal surfaces and can otherwise move from plant to plant.
What to do if pruning has gone wrong
Mistakes can often be corrected, provided the damage has not travelled too far into the wood. If you spot long stubs or horizontal surfaces, then:
- Recut a few millimetres above a healthy, outward-facing bud.
- Remove dead wood entirely, even if this leaves the shoot considerably shorter.
- Check the plant in the following weeks for newly appearing black or brown discolouration.
Severe frost damage may sometimes require more radical action. If that feels daunting, practical experience offers reassurance: many old-looking stumps regrow even more strongly after a bold cutback, as long as sufficient healthy root mass remains.
Further details: location, rose type and common misunderstandings
Not every rose should be pruned in the same way. Floribundas, hybrid teas and shrub roses generally tolerate harder cutting back to just a few eyes. Climbing roses and historic varieties are often more sensitive; prune these more moderately, removing mainly old wood that is no longer capable of flowering.
One common misunderstanding is that many amateur gardeners prune too cautiously out of fear. They leave long, ageing shoots that barely flower any more. A braver cutback usually encourages stronger, more floriferous new shoots and extends the life of the entire bush.
Often underestimated risks – and how to reduce them
Overcrowded growth and incorrect pruning commonly create a whole set of follow-on problems: stagnant air inside the shrub, leaves that remain wet and fungal diseases that spread quickly. Anyone who has spent a summer fighting powdery mildew or black spots knows how much prevention begins in late winter.
There is also mechanical damage to consider: rubbing, crossing shoots injure one another and create entry points for pathogens. Systematically removing these branches while pruning considerably reduces the risk.
In practical terms, this means:
- Inspect the shrub from the inside regularly, not only from the outside.
- Always remove crossing shoots in favour of the better-positioned one.
- Plan an inspection after heavy rain and storms.
Anyone who combines these principles with the three-eye rule and avoids stubs and flat cuts has control of the key factors. The reward does not appear immediately, but weeks later, when short, unremarkable shoots develop into strong flowering canes and the rose bush truly transforms the terrace or front garden into a sea of blooms.





Comments
No comments yet. Be the first to comment!
Leave a Comment