
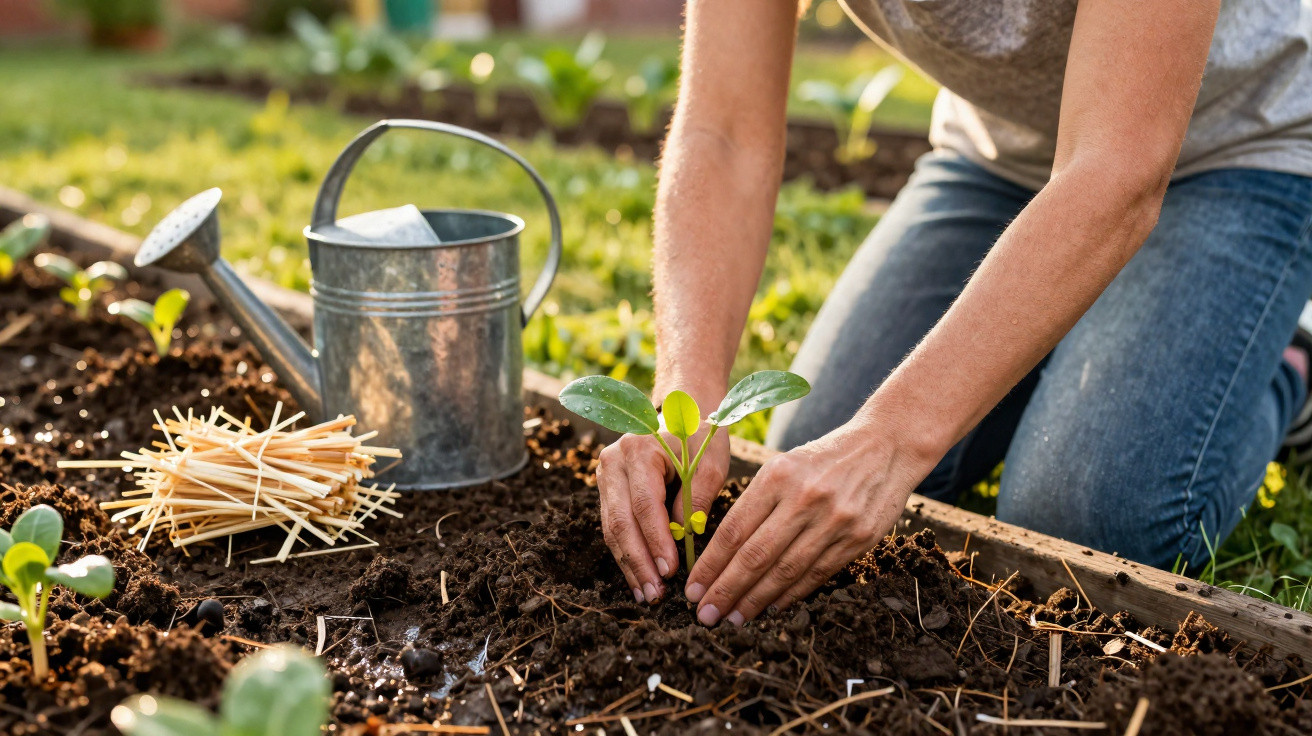
Many amateur gardeners unknowingly hold back their young plants when transplanting them – yet one straightforward, clever method is enough to prevent transplant shock.
When spring arrives and the beds are ready, countless tomatoes, peppers and flowers move from propagation pots into the soil. This is precisely where the crucial mistake often occurs: every year, plants that appeared healthy die during pricking out and planting. Usually, the cause is neither the soil nor the weather, but incorrect watering and poor timing – both of which can be corrected with just a few simple steps.
Why transplanting is so delicate for young plants
Moving from a pot into a bed is highly stressful for any young plant. Fine root hairs tear when it is lifted from its pot. These tiny roots are responsible for taking up water. Once damaged, plants become exceptionally sensitive to any change in conditions.
At this point, many people reach for the watering can and pour on plenty of water “just to be safe”. This is often exactly what causes trouble:
- Too little water: roots dry out in loose soil.
- Too much water: roots sit in waterlogged ground and receive no oxygen.
- Irregular watering: the plant repeatedly shifts between drought and excessive moisture.
Classic “transplant shock” appears as drooping shoots, limp leaves and stalled growth – often as early as the day after planting out.
The good news is that carefully controlling the water volume and following a few basic rules can drastically lessen the shock. Many plants will continue growing as though nothing has happened.
The key figure: how much water a newly planted area needs
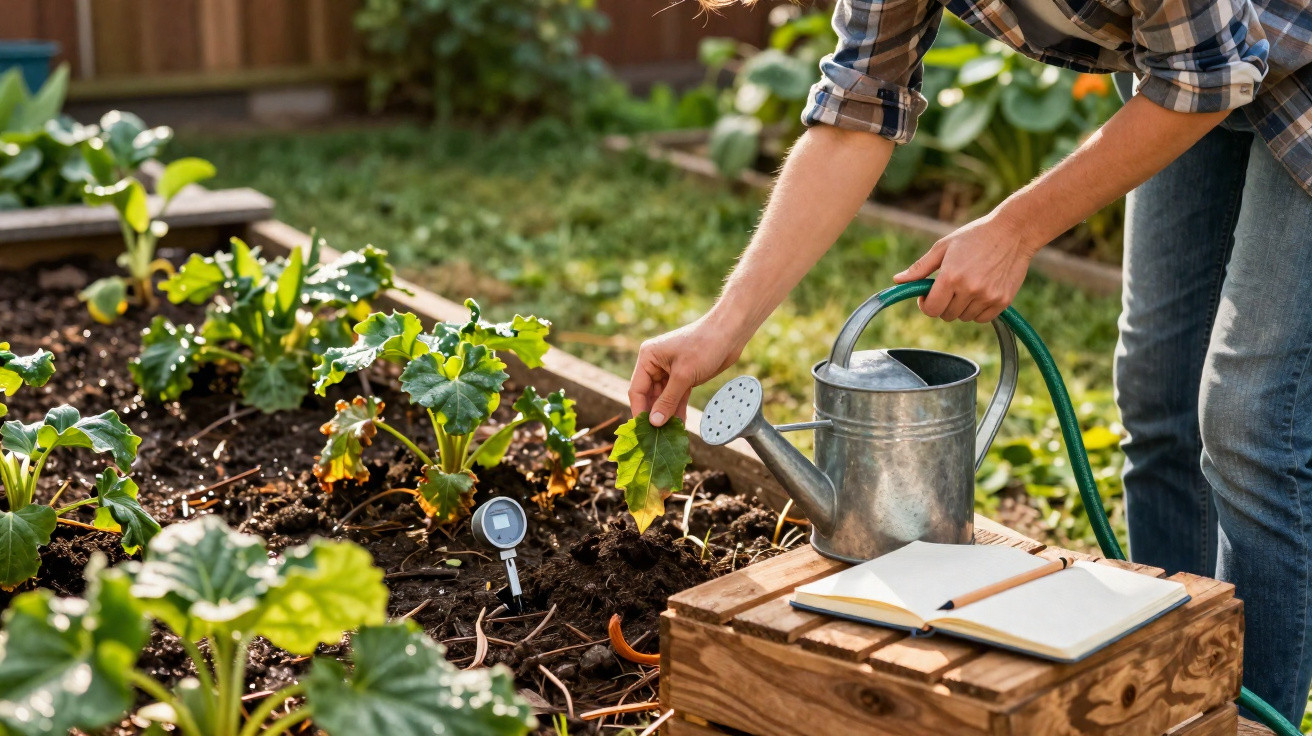
The ideal initial amount: 10 litres per square metre
When watering in for the first time, professionals do not rely on instinct but use a clear guide: 10 millimetres of water, or 10 litres per square metre of soil. It may sound technical, but it is easy to apply.
What does this quantity achieve?
- It moistens the soil thoroughly to depth without turning it into a puddle.
- Loose planting soil settles slightly without suffocating the roots.
- Roots receive water and oxygen at the same time – the perfect combination for a quick restart.
For individual plants in a bed, many gardeners use rough reference amounts. For a sturdy outdoor tomato, for instance, this may mean around 2 to 3 litres at planting, shared between the planting hole and surrounding soil. The precise number on the watering can matters less than the principle behind it: water deeply once rather than dampening the surface five times.
How to tell when you have watered enough
One simple check is all that is needed: after watering in, the soil around the plant should look visibly darker and evenly moist. Use your hand or a spade to make a small hole a few centimetres from the plant, around 10 to 15 centimetres deep. If the soil still feels moist at that depth, the initial watering is within the right range.
Thorough watering after planting is not an “extra”; it is the starting signal for the roots – without this stimulus, the plant will remain stagnant for a long time.
Water sparingly on purpose: training stronger roots
The finger test: water only once the surface layer is dry
After the first watering, many gardeners are tempted to add more every day. This is where the system goes wrong. The plant becomes accustomed to constant moisture in the upper few centimetres and has no reason to send its roots deeper.
A better approach is to use deliberate “watering breaks”.
This is how experienced gardeners proceed:
- Push a finger 2–3 centimetres into the soil.
- If the soil feels dry there, it is time to water again.
- If it is still slightly moist, wait – even if the surface already looks pale.
This easy finger test saves water while teaching the plant to cope with moderate dryness. Its roots will grow downwards in search of moisture.
Why daily watering weakens plants
Giving a small amount of water every day produces a kind of “spoilt” root system:
- Roots remain in the upper layer, which dries out quickly.
- At the first hot spell or after one missed watering, the plants collapse.
- Waterlogging encourages fungal diseases and root rot.
Gardeners who make their plants work a little will be rewarded. Tomatoes, peppers, cabbage and many flowers cope far better with warm periods. They can withstand short dry spells without immediately wilting.
A three-step shield: stress-free pricking out
The best time: always plant in the late afternoon
Planting time has a major effect on stress levels. Anyone who has to prick out plants at midday in full sunshine immediately exposes them to the worst conditions after the move: strong sun, high evaporation and damaged roots.
Late afternoon is a better choice. At that point, sunlight is less intense, the air gradually cools, and the plant has the whole night to recover. Less moisture evaporates through the leaves, allowing newly planted roots to settle in undisturbed.
Firm the soil: air pockets are fatal traps
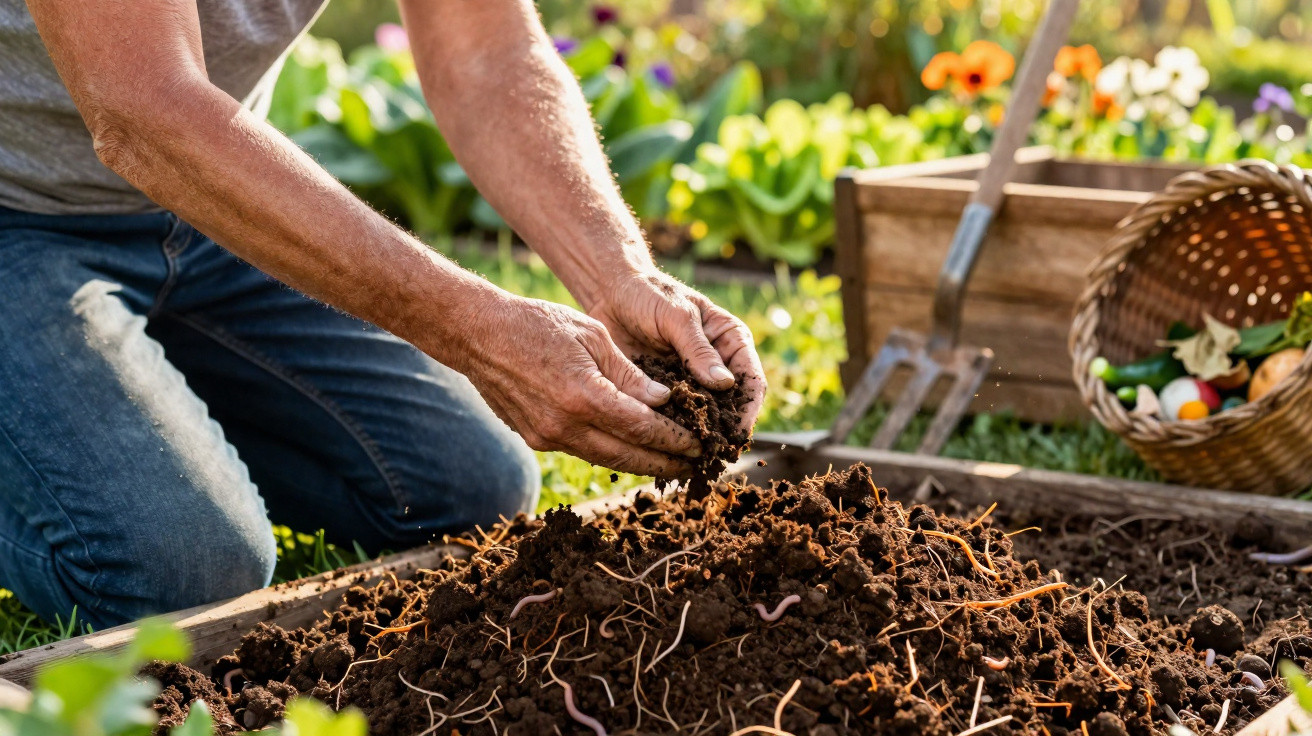
One common error is to refill the planting hole with soil without firming it properly. Cavities then remain beneath the surface. Delicate root hairs dry out inside these pockets of air, even when the surrounding soil is moist.
This is how professionals do it:
- Place the plant in the prepared hole.
- Add soil until the plant stands securely.
- Use both hands to press the soil firmly at the sides and gently from above.
- Shape a small watering basin around the plant.
Well-firmed soil does not mean “concrete”; it means even contact between soil and roots – only then can the initial dose of water work.
Mulching properly: use a protective layer, but keep it away from the stem
The final refinement is a thin mulch layer. It reduces evaporation, keeps the soil moist for longer and protects soil structure.
Keep the following in mind:
- A layer around 2–3 centimetres deep is entirely sufficient.
- Use only healthy, dry material, such as straw, chopped lawn clippings, leaves or pieces of bark.
- Leave a small circle clear around the plant crown, where the root meets the stem.
Keeping this area around the stem free prevents permanent dampness at the plant crown. This avoids rot and the dreaded “collapse” of young seedlings shortly after planting.
Practical examples: a sensible watering and planting routine
Typical crops and their initial care
| Plant | At planting | During the first weeks |
|---|---|---|
| Outdoor tomatoes | Dig a deep hole, water in thoroughly, 2–3 litres per plant | Water only when the top 2–3 cm are dry; water less often but generously |
| Lettuce plants | Make a shallow hole, firm the soil, water deeply | Check a little more often at first; use the finger test and water thoroughly in dry conditions |
| Peppers in containers | Use loose compost, use the pot rim as a watering edge, water in well | Check the pot weight; water only once the container is noticeably lighter |
Key terms explained briefly
What “pricking out” actually means
Pricking out refers to separating young plants that were initially sown closely together. The small plants are moved further apart, either into individual pots or directly into a bed. Roots are particularly sensitive during this stage because they are still very fine and have few branches.
Mulch, soil and air: a sensitive relationship
Mulch acts as a covering for the soil. It reduces evaporation, protects against surface capping caused by rain and supports soil life. At the same time, sufficient air must reach the roots beneath this layer. This is why soil must not remain soaking wet all the time, even when it is well mulched.
Those who follow the combination of a targeted initial watering, the finger test, late-afternoon planting, careful firming and thoughtful mulching will usually notice the difference after only a few days. Instead of hanging around looking “offended”, plants stand remarkably firmly, their leaves stay taut, growth resumes quickly – all without expensive specialist fertilisers.
Comments
No comments yet. Be the first to comment!
Leave a Comment