
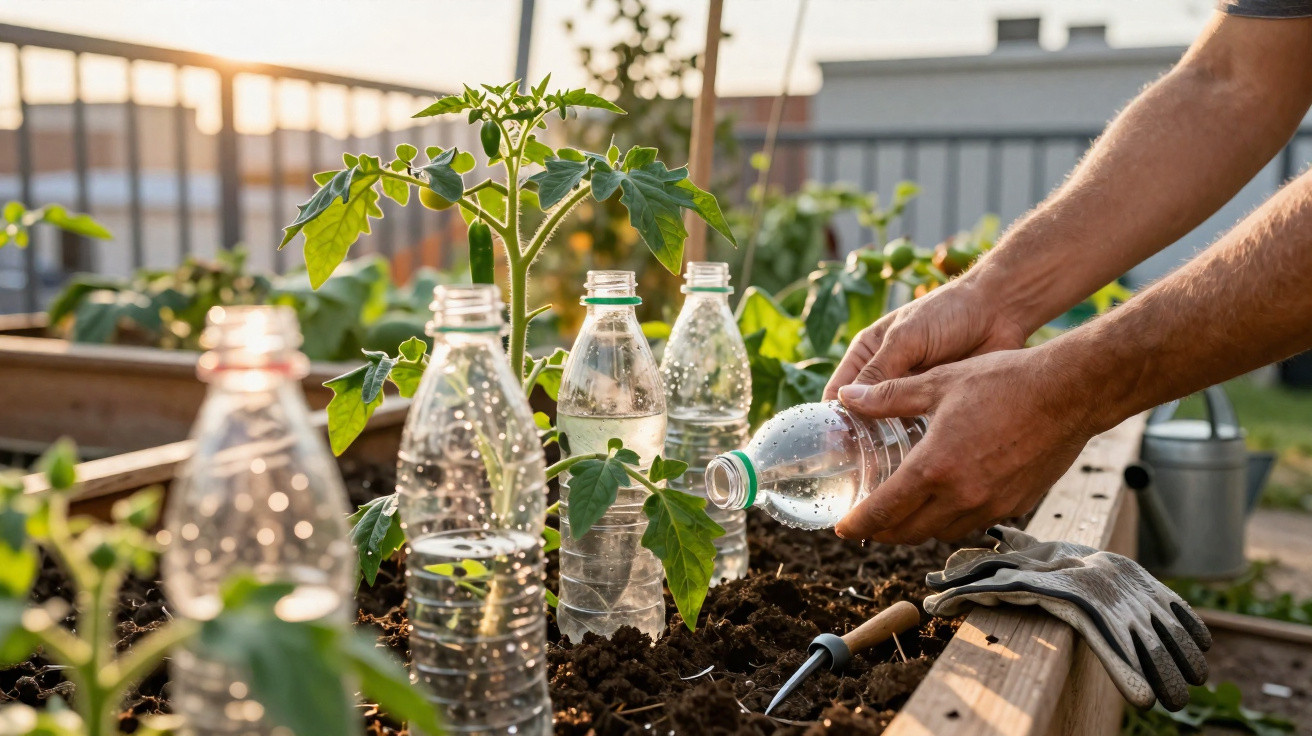
A drip irrigation system made with bottles delivers water slowly and in a controlled way straight into the soil near the roots. The principle is straightforward: reuse plastic bottles, make small holes and allow the water to seep out gradually rather than soaking the plant all at once. This approach is useful for pots, flower beds and small vegetable gardens, particularly on hot days or when regular watering is not possible.
Why use drip irrigation with bottles?
Drip irrigation cuts down on waste because water is not sprayed over leaves, paving or empty sections of a bed. Instead, it reaches the root area, where the plant can actually take up the moisture.
A bottle-based system is also inexpensive, requiring no pump, electricity supply or costly hoses. For anyone growing herbs, vegetables or ornamental plants at home, it can serve as a temporary alternative to, or supplement for, hand watering.
What materials are needed?
This system can be assembled from everyday items, although the bottle must be clean so that sugar, odours or residue are not introduced into the soil. Bottles holding 1.5 or 2 litres are suitable for large pots and small beds.
Gather the following before you begin:
- 1 clean plastic bottle with its cap.
- A thick needle, a thin nail or a heated pointed tool to make the holes.
- Scissors or a craft knife to cut off the base, if required.
- Clean water to fill the reservoir.
- A small stick or piece of mesh to stop soil from clogging the holes.
How do you make bottle drip irrigation step by step?
Make two or three small holes in the bottle cap. The smaller the holes, the more slowly the water will flow out. Next, fill the bottle, secure the cap tightly and turn it upside down, with the cap facing downwards, to check the dripping rate before placing it in the pot.
When fitting it, bury the cap end a few centimetres into the soil close to the plant, without allowing it to touch the stem directly. To make refilling easier, cut off the bottle base while keeping the opening facing upwards. Water can then be poured in from the top and will slowly escape through the buried cap.
How can you control the amount of water?
The flow rate is affected by the hole size, how compact the soil is and the bottle’s position. If all the water runs out within a few minutes, the holes are too large. If hardly any water comes out, the cap may be blocked or the holes may be too small for that particular soil.
To adjust the system without wasting water, keep these points in mind:
- Start with only a few holes, adding more only when needed.
- Test the bottle outside the pot before installing it permanently.
- Position the reservoir near the roots rather than in an empty central area of the bed.
- Check that soil has not entered the cap and blocked the outlet.
- Use less water for plants that prefer a drier growing medium.
When does this homemade system work best?
Bottle drip irrigation works particularly well in large pots, troughs, herb beds and small vegetable gardens containing plants that benefit from consistently moist soil. It is helpful during hot spells, short trips away or in routines where hand watering is often missed.
The most reliable result comes from combining small holes, well-draining soil and daily checks during the first few uses. If the bottle releases water gradually, without creating puddles or leaving the plant wilted, the system effectively keeps moisture close to the roots using low-cost, reused materials.
Comments
No comments yet. Be the first to comment!
Leave a Comment