
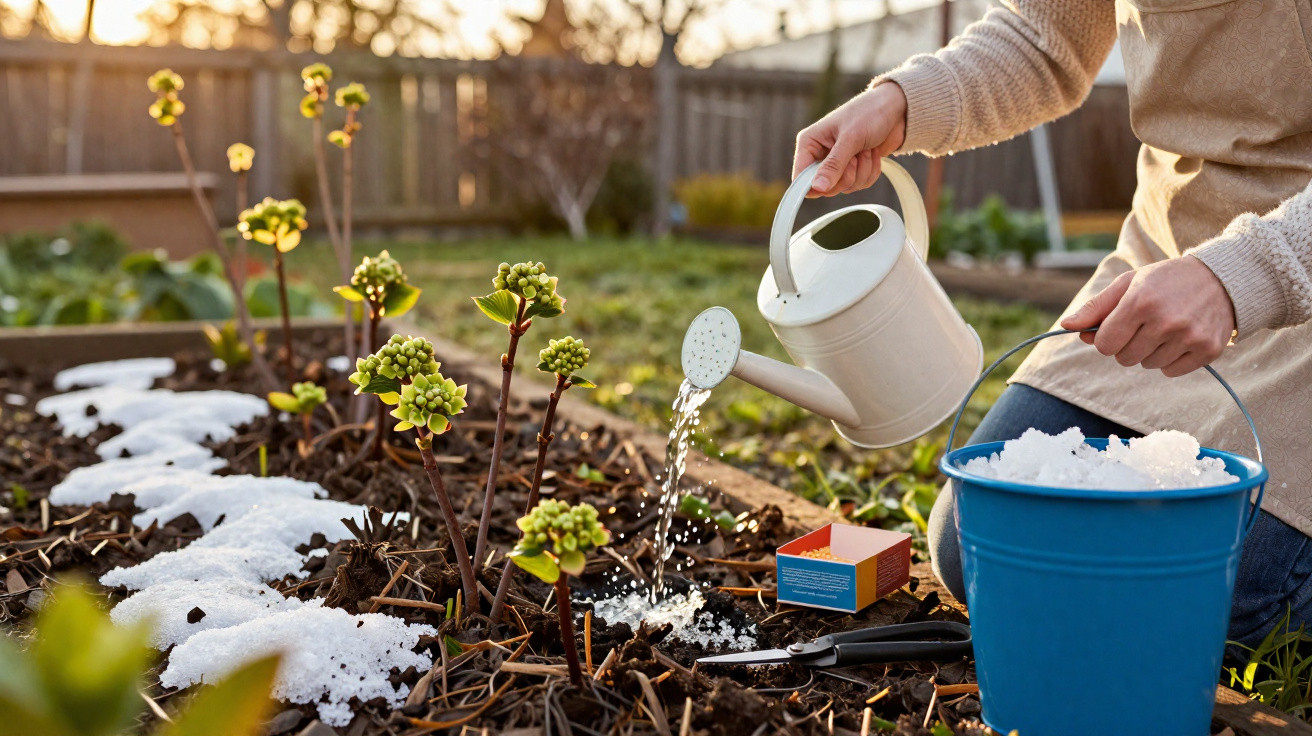
As winter draws to a close, the garden may appear still, yet this is the period that determines the whole hydrangea flowering season. With a bucket, a simple fertiliser and some sound pruning knowledge, bare shrubs can become large, colourful pom-poms rather than brittle, lifeless stems.
Why late winter is crucial for hydrangeas
Once snow has gone or frosts have begun to lift, hydrangeas are already stirring below ground. Their roots are working, buds have formed and the plants are ready for light and nourishment. While many gardeners concentrate on deadheading in summer, the most important choices are made in February and March.
What you pour around hydrangeas in early spring largely decides whether you get armfuls of flowers or just woody sticks.
In most temperate areas, the key period is from late February to the end of March, after daytime temperatures consistently remain above freezing. This is the time to:
- Remove or loosen winter protection around shrubs
- Inspect plants for drought stress and water if the soil is exceptionally dry
- Complete the first prune of the year, according to the hydrangea type
- Give the first application of fertiliser or organic feed
Missing these jobs will not usually kill a hydrangea, but it may greatly reduce flowering and leave the plant less able to cope with late frosts and summer heat.
Safely uncovering hydrangeas after snow
In colder locations, many gardeners protect hydrangeas from ice and wind by wrapping them in fleece or using other covers. It is tempting to remove this protection as soon as the sun appears, but doing so can cause problems.
Wait for a forecast showing several mild days with temperatures above 0°C. Take off fleece and other coverings on a dry day, avoiding a situation where the stems remain cold and wet. Should another hard frost be forecast, be prepared to replace the covers overnight.
The safest rhythm is: uncover in mild spells, keep covers handy, and protect again when temperatures plunge below freezing.
Panicle hydrangeas (Hydrangea paniculata), sometimes referred to in guides as “hydrangea paniculata” or “hydrangea bouquet”, seldom require wrapping in milder UK or US gardens. Bigleaf hydrangeas (Hydrangea macrophylla) and oakleaf hydrangeas (Hydrangea quercifolia) are more delicate, however, and benefit from extra protection in severe conditions or exposed positions.
Pruning hydrangeas: different types, different rules
Hydrangeas do not all flower on the same type of wood. This one difference accounts for many frustrating years in which buds fail to bloom. Prune incorrectly and you can remove the very stems that would have provided the season’s colour.
Hydrangeas flowering on last year’s wood
These varieties produce blooms on stems that developed during the preceding year:
- Bigleaf hydrangea (Hydrangea macrophylla)
- Mountain or serrata hydrangea (Hydrangea serrata), often known as “lacecap” types
- Oakleaf hydrangea (Hydrangea quercifolia)
Their early-spring pruning should be restrained and precise:
- Remove only stems that are dead, damaged or obviously dried out
- Cut away old brown flower heads just above the first strong pair of buds
- Take out very old or weak stems at ground level to improve airflow and allow in more light
On last‑year’s‑wood hydrangeas, stop cutting once you reach a plump pair of buds – those are this summer’s flower heads.
Hydrangeas flowering on this year’s wood
Panicle hydrangea (H. paniculata) and smooth hydrangea (H. arborescens), commonly sold as ‘Annabelle’, make their flower buds on fresh spring growth.
These types benefit from considerably harder pruning:
- In late winter or very early spring, reduce every stem by around two-thirds
- Retain a structure of sturdy, well-spaced shoots to maintain the shrub’s shape
- Cut weak, thin or crossing growth away at the base
A hard prune encourages powerful new shoots, which will later carry large, dramatic flower heads. Without pruning, a plant may become top-heavy and is more likely to break in rain or wind.
The bucket trick: what to pour around hydrangeas
The familiar advice to “when the snow melts, grab a bucket and pour it around your hydrangeas” is not mainly about plain water. It is about what is added to the bucket. Feeding in early spring influences root health, dense foliage and the eventual number of flower heads.
Think of the first spring feed as breakfast after a long fast: generous, balanced and focused on building strength.
The best early-spring feeds for hydrangeas
| Feed | How to use | Main benefits |
|---|---|---|
| Garden compost | Apply a 3–5 cm layer around the base, without touching the stems | Gradual nutrient release, improved soil structure and moisture retention |
| Liquid biohumus (worm cast extract) | Dilute with water according to the instructions and drench the root area | Encourages root activity, strengthens resilience and provides gentle nutrition |
| Used coffee grounds | Scatter sparingly around plants or add to compost, then water | Supplies nitrogen, potassium and phosphorus while mildly acidifying soil |
| Balanced granular fertiliser for shrubs | Spread at the stated rate and water in using a bucket | Provides a rapid supply of major nutrients and supports early shoot development |
For this bucket method, gardeners often mix liquid feed with their watering. Fill a bucket with water, stir in diluted biohumus or another organic liquid fertiliser, then pour it slowly over the root zone. Apply it when the soil is already moist rather than completely dry, so the mixture can soak in evenly instead of simply running away.
Why hydrangeas need nitrogen and acidity
Hydrangeas prefer soil that is rich in humus and slightly acidic. Nitrogen in spring feeds supports leafy development, and this foliage then helps the plant sustain more flower heads. A moderately acidic pH can also encourage certain varieties to develop blue or purplish tones instead of pink ones.
Early spring feeds that both nourish and gently acidify the soil can boost flower size and, in some varieties, deepen colour.
Used coffee grounds are widely favoured because they contain small quantities of nitrogen, potassium and phosphorus, while helping to shift alkaline soil towards greater acidity. Restraint is essential: a light scattering around the shrub or a small handful incorporated into compost is sufficient. A thick layer of grounds may create a water-repelling crust.
A practical spring hydrangea care checklist
Gardeners wanting a clear plan can follow this sequence from the point when snow disappears or frosts subside:
- Look at the coming week’s forecast, avoiding pruning immediately before a severe freeze
- On a mild day, remove or loosen winter protection from sensitive hydrangeas
- Prune by type: shape last-year’s-wood varieties lightly, but cut this-year’s-wood types back more firmly
- Place a ring of compost or well-rotted manure around every shrub
- Fill a bucket, add liquid organic feed as instructed and pour slowly around the roots
- If desired, add a small scattering of coffee grounds beneath the compost layer
- During dry spells, water again to prevent “physiological drought”, which occurs when frozen or dry soil prevents roots from absorbing moisture
Potential pitfalls to avoid
Spring enthusiasm can result in several familiar errors. Applying too much strong chemical fertiliser may scorch roots or produce excessive leaf growth at the expense of flowers. Follow the recommended application rate and choose slow-release or organic feeds where possible.
Pruning at the wrong moment is another common issue. Cutting bigleaf hydrangeas back severely in April, when their buds are beginning to swell, can result in a healthy leafy shrub with no flowers. If you do not know which type you have, prune only minimally at first and note where blooms appear that season.
Leaving covers in place for too long may encourage mould or produce soft growth that wind can easily damage. The aim is balance: give protection in severe cold, then remove it promptly once reliably mild weather arrives.
Combining feeds and planning long-term hydrangea care
Hydrangeas benefit from layered feeding. An annual layer of compost steadily improves soil life. An early-spring bucket of liquid feed helps activate the roots. Following this with a second, lighter feed in late spring or early summer can aid bud development, particularly after heavy rain has washed nutrients from the soil.
Gardeners who like to experiment sometimes record the effects of different feeds on flower colour and plant vigour. For instance, using compost, coffee grounds and a specialist hydrangea fertiliser on one shrub while applying compost alone to another nearby can reveal noticeable differences in flower intensity and leaf size by midsummer.
For less experienced gardeners, one simple guide is useful: if a hydrangea resembles a collection of dry sticks after winter, prioritise pruning and watering before feeding gently. If it has lots of healthy wood but produces small or sparse flowers, reconsider both the spring fertiliser used and the timing of pruning. The bucket carried out when the snow finally melts may be the small routine that changes the entire display.






Comments
No comments yet. Be the first to comment!
Leave a Comment