
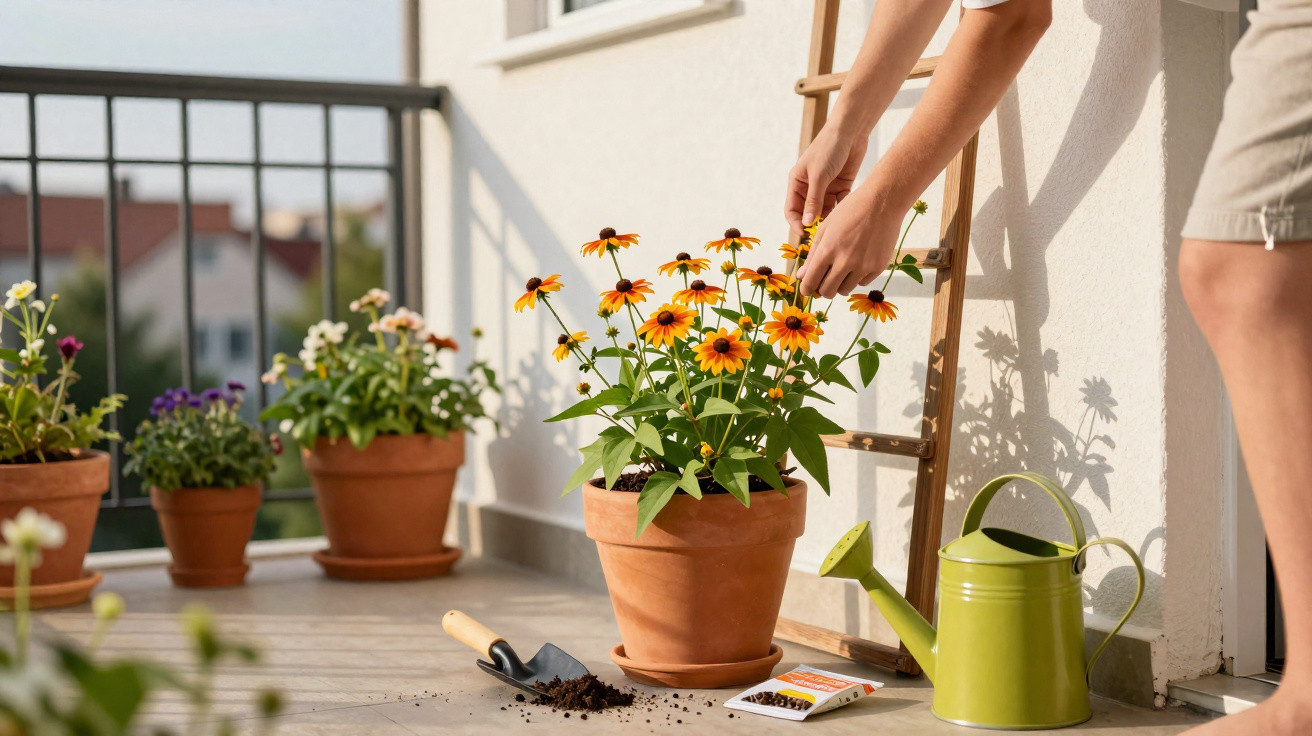
The black-eyed Susan is considered an ideal beginner’s plant with real wow factor: it grows rapidly, flowers for months and forgives minor novice mistakes. Getting started correctly in spring is crucial – and before long, it can turn fences, trellises or containers into a colourful sea of blooms.
Why black-eyed Susan is a beginner’s secret weapon
Black-eyed Susan (Thunbergia alata) is one of those climbing plants that gives its all in its very first season. A few unremarkable seeds can produce, within weeks, a dense green curtain covered in vivid yellow, orange, white or apricot flowers – each with its characteristic dark “eye” at the centre.
“Anyone with little experience who wants quickly visible results is making an excellent choice with this climbing plant.”
Garden experts particularly highlight three advantages:
- rapid growth – perfect for unattractive corners or bare fences
- a long flowering period – from summer well into autumn
- versatile uses – suitable for window boxes, containers, trellises, obelisks or arches
As it is an annual, you will need to sow it again each year. In return, every season brings a fresh, lavish display of flowers – without complicated pruning or overwintering.
The right time: when to start sowing
Spring is when things begin. You can start sowing indoors from March. Seeds germinate most reliably when kept warm, with temperatures of around 16 to 18°C being ideal. A bright windowsill or a small indoor propagator in a living space provides the right conditions.
Because black-eyed Susan cannot tolerate frost, it should initially remain protected indoors. Only move it outside once nights are reliably mild and there is no further risk of late frosts – from mid-May in many areas.
Step by step: how to sow black-eyed Susan
A basic set-up is all you need for sowing. There is no need for a professional greenhouse or costly specialist equipment.
Useful materials
- small pots or seed trays with drainage holes
- loose seed compost, preferably low in nutrients
- a spray bottle or watering can fitted with a fine rose
- a clear cover, plastic film or mini greenhouse to increase humidity
How to sow the seeds
- Fill the pots or trays with seed compost, then press it down gently.
- Place one to three seeds on the surface, depending on the pot size.
- Cover the seeds sparingly with compost – a very thin layer is enough.
- Moisten the compost with a spray bottle until it is evenly damp throughout.
- Put the container somewhere warm and bright, such as on a windowsill.
- If desired, place a clear cover over it to retain moisture.
The compost must not be allowed to dry out completely, but it should never be soaking wet either. Waterlogging prevents germination and quickly causes rot. A quick finger test is enough: if the surface feels dry, it is time to water again.
Warmth and light: why the position determines success
Black-eyed Susan originates from tropical parts of East Africa, and its preferences reflect that heritage. It thrives on warmth, sunshine and free-draining soil. Cold, draughty locations noticeably slow its growth.
“The brighter and warmer the spot during propagation, the more robustly the young plants will develop.”
A south-facing window away from persistent draughts is ideal. In very dark rooms, seedlings remain spindly and become leggy. If you only have a shadier position, a simple grow light can help. Powerful professional equipment is unnecessary: a small LED lamp is entirely sufficient for a few pots.
After germination: prick out, repot and add support
Once the first ‘true’ leaves appear alongside the seed leaves, the pot will usually start to feel crowded. This is the time to prick out, or separate, the seedlings.
How to prick out correctly
- Carefully lift the plants from the compost using a dibber or spoon.
- Put each young plant into its own slightly larger pot.
- Set the seedlings deeply enough to stand securely, but do not bury them.
- Water lightly after repotting, then protect them from direct midday sun for the following few days.
Since black-eyed Susan is a climbing, twining plant, it pays to plan ahead early on. Even while still in its pot, it can be given a small support, such as a bamboo, wooden or metal cane. Many amateur gardeners underestimate how quickly it wants to climb – without support, the soft shoots can easily bend over.
Moving outdoors: the perfect time to relocate
Wait until the frosty period is genuinely over before taking plants outdoors. This plant is sensitive to cold nights, and a brief drop in temperature can cost it entire shoots.
Before leaving pots outside permanently or planting them out, it is worth allowing an acclimatisation period. At first, place the plants outside in a sheltered position for a few hours during the day, then bring them back indoors in the evening. This helps them adjust to sunshine, wind and fluctuating temperatures. After several days, they can remain outdoors permanently.
Garden or balcony position: what to consider
Black-eyed Susan needs plenty of light. A position in full sun or one that is very bright will produce the most flowers. It tolerates partial shade, but often grows more openly there and flowers less profusely.
| Criterion | Ideal for black-eyed Susan |
|---|---|
| Light | full sun to very bright, sheltered from wind |
| Soil/compost | loose, well-drained, no waterlogging |
| Containers | larger pots or window boxes with drainage holes |
| Climbing support | trellis, fence, obelisk, tensioned wire, canes |
For containers, investing in high-quality, structurally stable potting compost is worthwhile. It retains moisture without becoming waterlogged and does not collapse as quickly. Using very heavy garden soil in pots risks waterlogging and root rot.
The most common beginner mistakes – and how to avoid them
Although black-eyed Susan is regarded as uncomplicated, there are several common pitfalls.
- Planting out too early: Young plants quickly reach their limits on cold nights. Always keep an eye on the risk of frost.
- Too little warmth during propagation: In cool rooms, seeds germinate late or not at all, while seedlings remain weak.
- The wrong position: A dark or very draughty location results in few flowers and poor growth.
- Waterlogging: Permanently wet compost can easily cause rot, particularly in heavy growing media without drainage holes.
- No climbing support: Without a climbing frame, shoots lie on the ground, become tangled and break more easily.
“Anyone who pays attention to warmth, light, free-draining soil and a sturdy climbing support has already covered the most important points.”
Summer care: watering, feeding and pruning
Once black-eyed Susan is well rooted, its main summer requirement is water. Compost in containers dries out quickly on hot days. Daily watering is not unusual, especially in a position with full sun. It is better to water thoroughly than to keep giving only a few drops.
Applying a mild liquid fertiliser for flowering plants every one to two weeks supports months of blooming. In fresh, nutrient-rich compost, the basic supply is often sufficient at first. If there are signs of deficiency – such as pale leaves and few flowers – you can increase feeding.
You can lightly trim back faded shoots at any time. This encourages branching and the formation of new blooms. Hard pruning is unnecessary; the plant completes its life cycle within a single year anyway.
A few more practical tips for balconies and patios
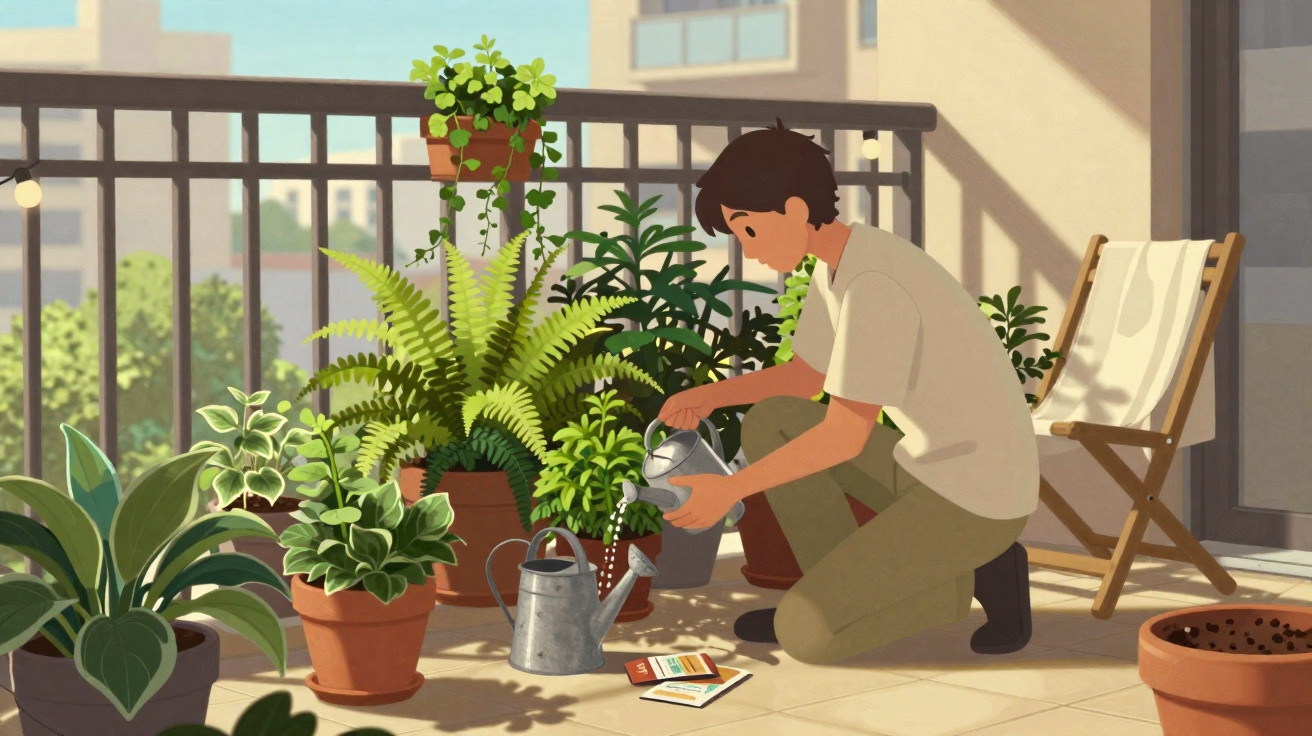
If space is limited, black-eyed Susan can also be grown in a hanging basket. Rather than climbing upwards, its shoots will then trail decoratively downwards. For balcony screening, narrow, tall containers with a trellis are well suited – especially along the railing.
Combined with other summer flowers, it creates striking colour contrasts. The rich orange of black-eyed Susan works well with blue lobelia or purple petunias. The important thing is to pair plants with similar light and watering needs, so that none of them “suffers” in the pot.
Those who sow again every spring soon develop a routine. Many amateur gardeners use black-eyed Susan as a kind of confidence barometer: when it grows well, confidence increases and they feel ready to try other climbing plants or more delicate species.

Comments
No comments yet. Be the first to comment!
Leave a Comment