
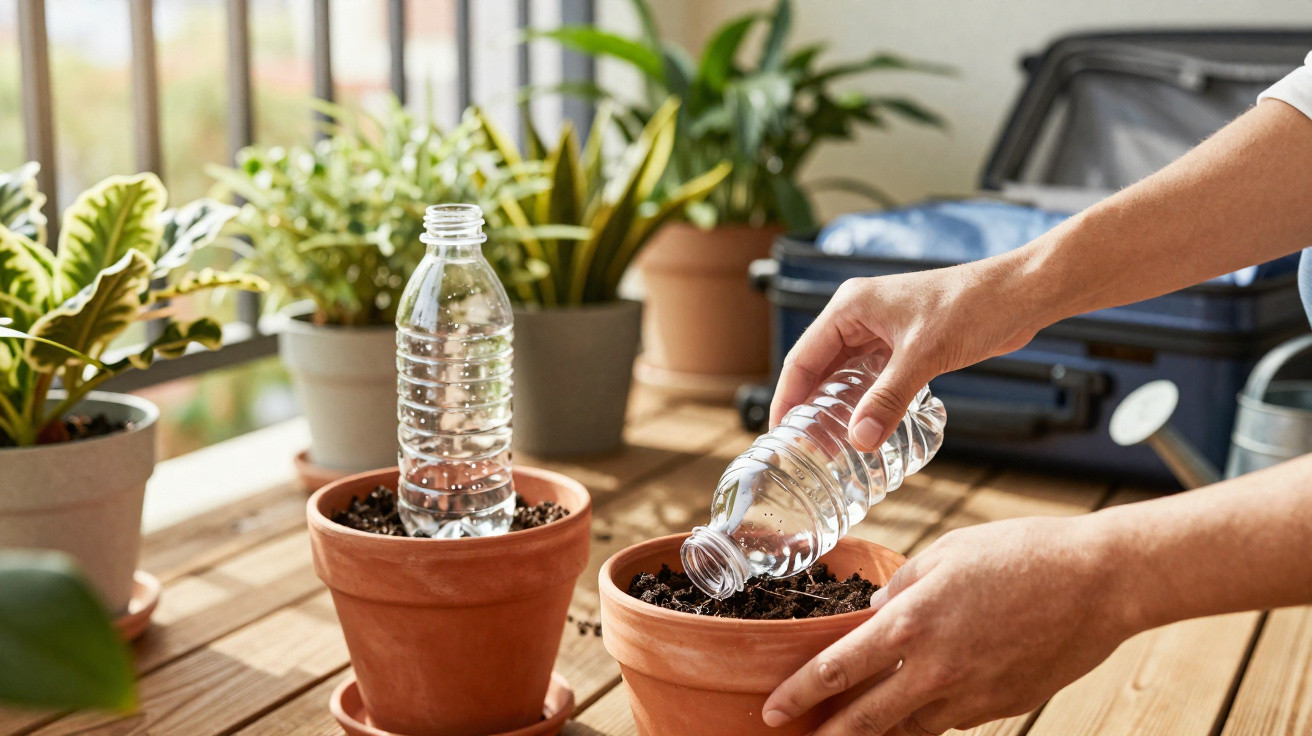
A simple everyday item can save your green housemates from drying out.
Anyone who looks after houseplants, window boxes or a small vegetable patch knows the issue: a few hot days, a short trip away or everyday stress, and the leaves are already drooping. Rather than buying expensive irrigation systems, a basic plastic bottle is often enough, provided you use it properly and avoid one common mistake.
How the plastic bottle trick works
The principle is surprisingly straightforward: fill a plastic bottle with water, place it upside down in the soil, and it will release liquid gradually. This creates a makeshift drip-irrigation system that keeps your plants supplied with steady moisture.
An inverted bottle can replace daily watering without drowning the roots – as long as the bottle size and number of holes are right.
Here is how the mechanism works in practice:
- Fill the bottle with water and screw the cap on tightly.
- Make several tiny holes in the cap, using a nail or skewer, for example.
- Insert the bottle several centimetres into the soil with the opening facing downwards.
- Gravity and capillary action in the soil allow water to seep slowly into the root zone.
As the growing medium dries, the soil draws in more water. When it is sufficiently moist, hardly any more water flows out. This means the flow broadly adjusts to the plant's needs, mimicking gentle, even rainfall.
Benefits over traditional watering
The bottle trick offers several practical advantages that become clear after only a few days:
- Less evaporation: Water reaches the roots directly rather than sitting on the surface.
- Lower risk of waterlogging: There is no sudden surge from a watering can that saturates the soil in seconds.
- Less effort: People who travel frequently or work irregular hours do not have to think about watering all the time.
- Reliable holiday watering: With the right bottle size, one filling can last from several days to weeks.
For anyone prone to watering stress – forgetting sometimes and overwatering at others – this drip solution provides greater consistency in the pot.
Setting up the plastic bottle irrigation system correctly
For the basic version, you need only three things: a clean plastic bottle (0.5 to 2 litres), a pointed tool and water. The key factor is the way the bottle is prepared.
Step-by-step instructions
- Rinse the bottle thoroughly so that no juice or fizzy-drink residue gets into the soil.
- Unscrew the cap and pierce 3–6 very small holes in it. It is better to begin with holes that are too small than too large.
- Fill the bottle with water and screw the cap back on securely.
- Use a stick or your finger to make a small pilot hole in the soil, disturbing the roots as little as possible.
- Push the bottle a few centimetres into the soil with its opening facing down.
- Keep the base of the bottle above the soil so that you can monitor the water level.
For large planters or raised beds, it is worth cutting off the base of the bottle. You can then top it up from above whenever needed, without removing the whole setup.
| Pot size / bed | Recommended bottle size | Guide to number of holes in cap |
|---|---|---|
| Small houseplant (Ø 12–16 cm) | 0.5 litres | 2–3 very small holes |
| Medium-sized pot (Ø 20–25 cm) | 1 litre | 3–4 small holes |
| Large planter / window box | 1.5–2 litres | 4–6 small holes |
These figures are only starting points. Every plant, soil type and location behaves slightly differently. Testing the system for two or three days before going on holiday will show whether any adjustment is needed.
Which plants benefit – and when the trick can cause harm
The bottle method is particularly suitable for plants that prefer consistently lightly moist soil. This includes many popular vegetables and houseplants.
Good candidates for plastic bottle irrigation
- Vegetables in beds or containers: tomatoes, cucumbers, courgettes, peppers, aubergines
- Popular houseplants: Monstera, Ficus species, devil's ivy (Pothos), Philodendron, Calathea
- Balcony flowers: geraniums, petunias, begonias, fuchsias
- Kitchen herbs with high water needs: basil, chives, parsley, mint
All of these can quickly lose leaves or start to decline when drought-stressed. A continuous but moderate flow of water greatly stabilises these plants.
Avoid the method for these plants
There are also plant groups for which this approach does more harm than good. Species that prefer dry conditions are especially sensitive to constant moisture.
- Cacti and many succulents
- Woody herbs such as rosemary, lavender and thyme
- Steppe plants and Mediterranean species in containers
Their roots can rot quickly if they receive too much water. They instead require traditional gaps between watering and well-draining soil.
Care is also needed with very small pots and recently repotted young plants. Pushing in the bottle can easily damage fine roots. Careful manual watering is the better option here.
Saving water and reusing plastic sensibly
One frequently overlooked advantage is that this homemade drip system saves a considerable amount of water. As the liquid reaches the root area directly, less is lost through evaporation or run-off to the sides.
Anyone fitting bottles to several planters or window boxes will notice over a season that watering becomes more even and more economical.
You are also reusing plastic bottles already on hand rather than throwing them away immediately. This extends their useful life and reduces waste. The effect becomes stronger when combined with other simple measures:
- Mulch layer: A covering of bark mulch, grass clippings or straw on the soil slows drying during summer.
- Water-retaining additions: Hydrogel or clay granules in the growing medium hold moisture and release it gradually.
- Seasonal adjustment: Use larger bottles and refill more often in summer; use less water and smaller containers in winter.
The most common mistake – and how to avoid it
The weak point of the bottle trick is almost always the combination of bottle size and number of holes. Both need to suit the plant, pot and surroundings.
Too many or excessively large holes
If the bottle empties within a few hours, the cap has been perforated too generously or the container is too small. This can result in:
- short-term flooding of the root area
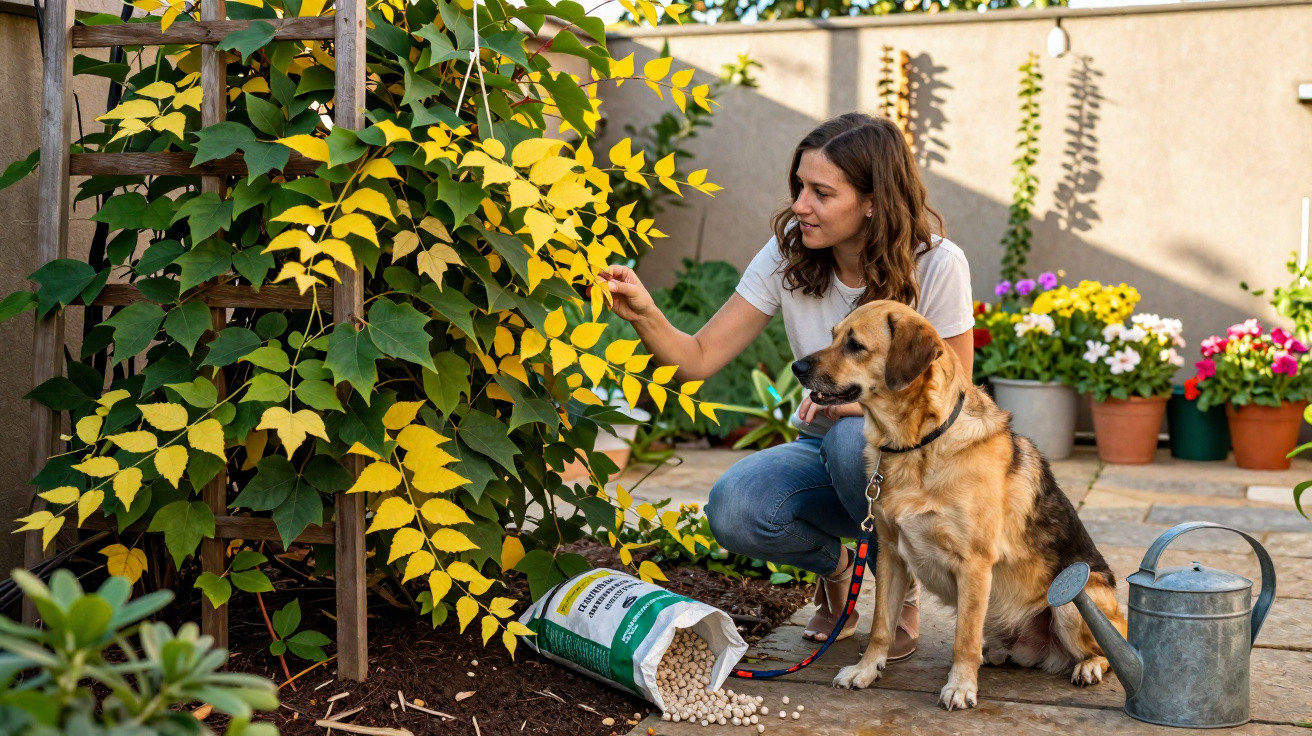
- yellowing leaves caused by waterlogging
- no protection during longer absences despite the system, because the water is used up too quickly
Too few or overly small holes
If the bottle barely drips or does not drip at all, the plant will not receive enough water. Dried-out leaves and damaged roots may still follow – precisely what the system was intended to prevent.
The answer is a little experimentation before it matters. Fill the bottle, insert it and observe for one or two days how quickly it empties and how the soil feels. If the soil stays wet all the time, reduce the number of holes or choose a smaller bottle. If everything remains completely dry, add one more hole or enlarge them very slightly.
Practical tips for everyday life and holidays
For day-to-day use, one bottle per larger pot is often enough; simply check the level briefly when airing the room. If you are frequently away, very thirsty plants can have two bottles per planter – one on the left and one on the right of the root ball.
Before a longer trip, it is worth running a small trial a week in advance. That way, you can tell whether the supply will last or whether you should ask a neighbour for help after all. In very hot top-floor flats, evaporation can increase so much that extra assistance is necessary even with a bottle system.
Another point that is often underestimated is the soil used. Very peat-rich or old, compacted growing media distribute water less effectively. A loose, structurally stable substrate spreads moisture more evenly, substantially improving the effect of bottle irrigation.
Anyone who enjoys a bit of DIY can even develop a small watering plan from these observations: different bottle sizes for sunny and shaded positions, and different numbers of holes for thirsty tomatoes than for relatively undemanding houseplants. Over time, this produces a remarkably dependable system using materials that are likely already lying around in almost every home.
Comments
No comments yet. Be the first to comment!
Leave a Comment